Create a conversion tracking code.
- Go to your Google Ads dashboard
- Click “Tools & Settings” and select “Conversion
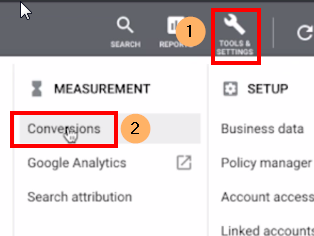
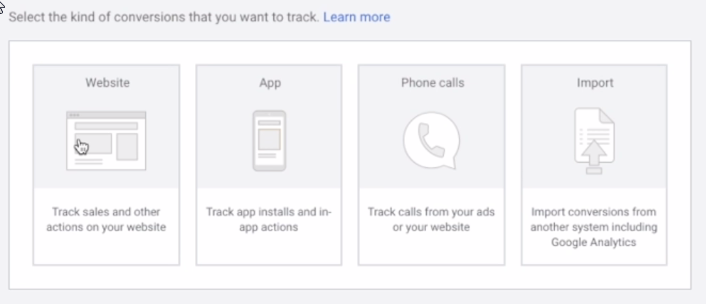
- Click the plus icon and select one from the 4 options. Most of the time you're going to be using website conversion tracking especially considering how many different things you can be tracking and most of the things and most of your sales are probably going to be happening here.
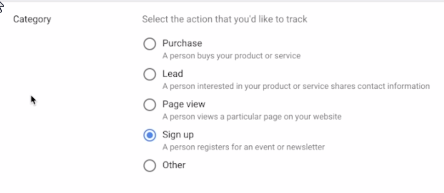
- Category: Select the action that you would like to track.
- Enter the conversion name.

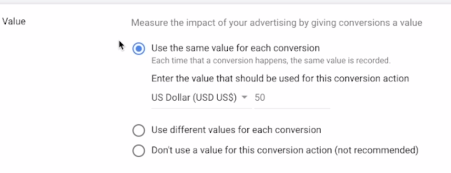
- Value: Choose which value you want to measure. If you don’t know the value, simply select the third option, if you know the value and it does not fluctuate, select the first option. The second option is more advanced as it is for advertisers who have fluctuating values (not recommended this time).
- Count: Select how many conversions to count per click or interaction.
- Every: if someone clicks on your ads and then makes five purchases on your website then that is going to count as five conversions. Choose this option if you have an e-commerce or you are selling products that you know the value of.
- One (recommended): When someone clicks on your ads and buys 5 or 10 products that is only going to count as one conversion. This is much more valuable for someone who is actually signing up for something.
- Conversion window: If someone clicks on your ad but doesn't buy anything but say twenty five days later they go into your website and they buy something.
- If you use 30 days then all of the purchases within 30 days are going to be attributed to this ad. If the ad was what they clicked on and then bought something much later on.
- If you are a business and you know the average amount of time that it takes for your customers to return then you're gonna want to use that value.
- If you’re an agency then you want to ask your client to know this information.
- If neither of you knows then simply use 30 days.

- View-through conversion window: Do you want the ad to get the credit for that conversion and for how long? If you have any data on this then use that to set this accordingly. Otherwise, you can select “1 day”.
- This is if someone sees your ad and then that same day goes to your website and buys something. That ad still gets the credit even though they didn't click on it.
💡You don't want to have too much time, you want the conversion tracking to be as solid as it possibly can be.💡
- Include in ‘conversions’: The main use for this is if you want Google to track this data, use this data to optimize their algorithms in order to optimize your automatic bidding strategy. We recommend you use this. The only time not to use this would be if you’re trying something crazy out (i.e. tracking people who are visiting your About page because you noticed that most of them tend to purchase).
- Attribution model: Which ad do you want to get the actual conversion for? We strongly recommend choosing “last click”.
- Click “create and continue” once you’re done.
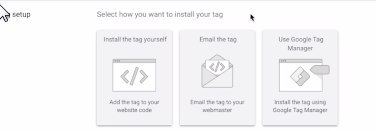
- Set up the tag.
- Choose “install the tag yourself”.
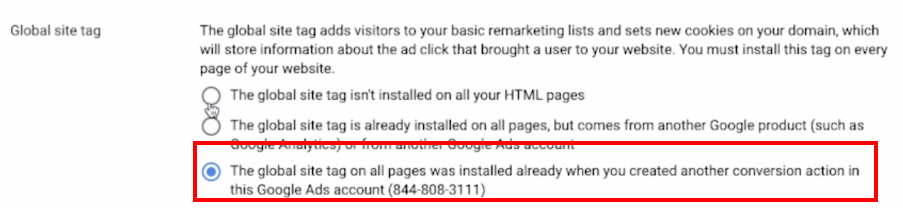
💡Before we can actually install your tag you need to install a global site tag.💡
- See code for: Select “HTML” here.
- Global site tag: When you’ve already installed this, you can select the third option.
- Event snippet: This is the actual website conversion tracking code. Click here for the tutorial.