Goal: To create a Business Manager account and Facebook Ad Account for your business.
Ideal Outcome: You will have a Business Manager account ready to manage all your Facebook Assets and share them with your employees securely. You will have created your Facebook Ad Account and set your Payment Method.
Prerequisites or Requirements: You will need a personal Facebook account.
Why is this important?
Facebook’s Business Manager allows you to easily manage multiple pages and ad accounts, while also being able to safely assign roles to your employees or contractors. Your Facebook Ad account will allow you to set up your first campaigns promoting yourself to the 2.85 billion active Facebook users worldwide in 2021.
Where is this done? In Facebook’s Business Manager.
When is this done? The first time you are creating a Business Manager account.
Note: You can add more Business Manager accounts (the current limit is 3 per user) and ad accounts as you go along.
-
Create a Business Manager Account
-
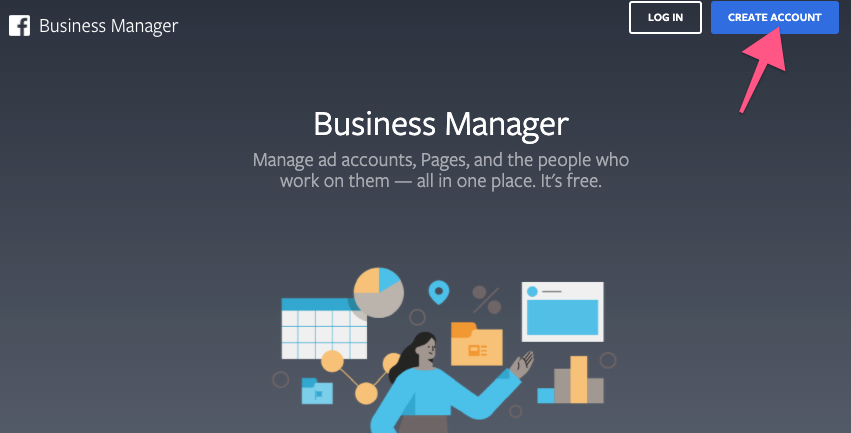
Go to https://business.facebook.com in your browser.
-
Click on “Create Account” on the top right corner.
-
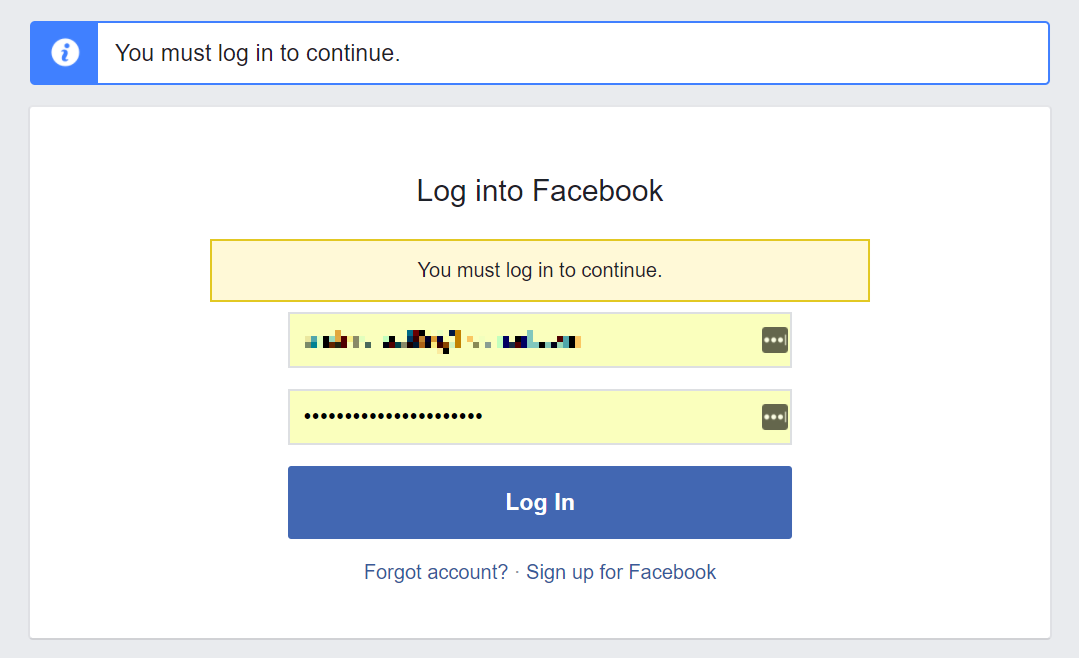
If you’re not logged in to your personal FB account, you’ll be asked to log in:
-
You are now creating your Business Manager Account:
-
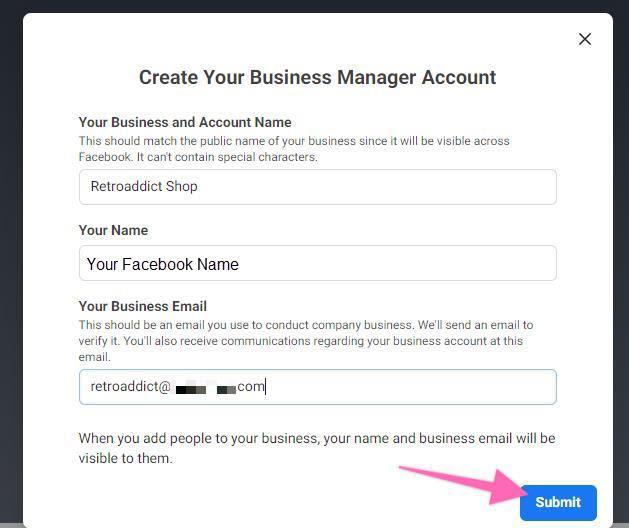
Enter your business name.
-
Note: This name is visible to your employees or other people that you allow to manage your assets.
-
-
Press Continue, and enter your name and your business email, and click “Submit”.
-
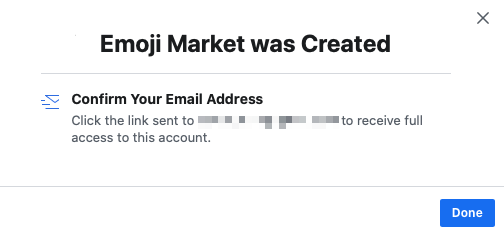
Your Business Manager is now created! Click the link you received in your email to confirm your account.
-
After confirming, you will be taken to your Business Manager setting with email verified at the bottom-most right portion:

-
Create an Ad Account on Business Manager
-
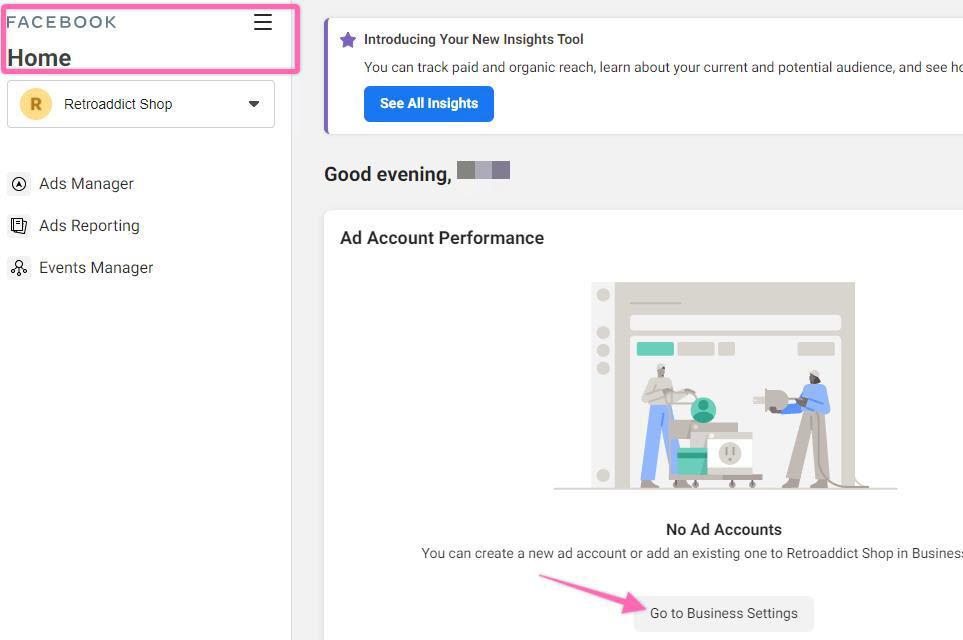
When on your Business Manager Home page, click on “Go to Business Settings”:
-
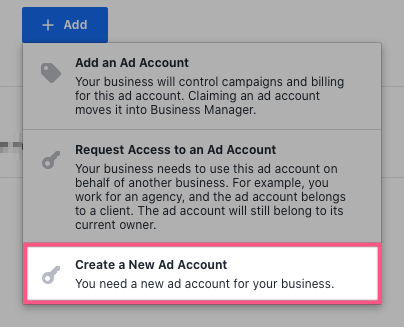
Click on the ‘Add’ dropdown:

-
Click “Create a New Ad Account”
-
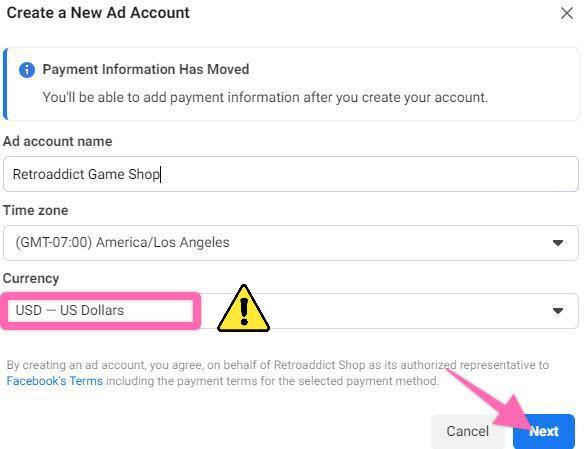
Enter the details for your new Ad Account:
-
Note: Pay attention to the currency you want to be used for your account as you cannot edit this in the future. You can always create a new Ad Account If you want to do so.
-
-
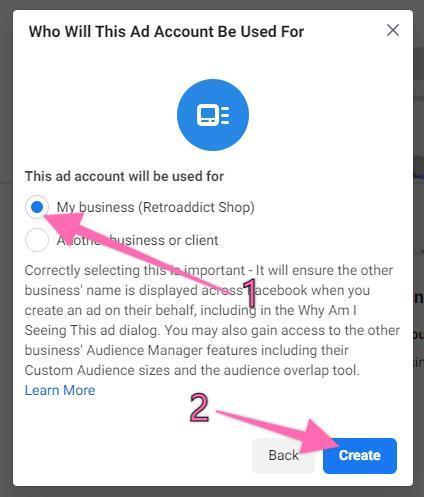
Select whether you are creating this Ad Account for your business, or to advertise on behalf of another business.
-
You will now be prompted to assign people to your Ad Account, for now, you will only add yourself. In the future, you might want to add employees or contractors to that Ad account as well.
-
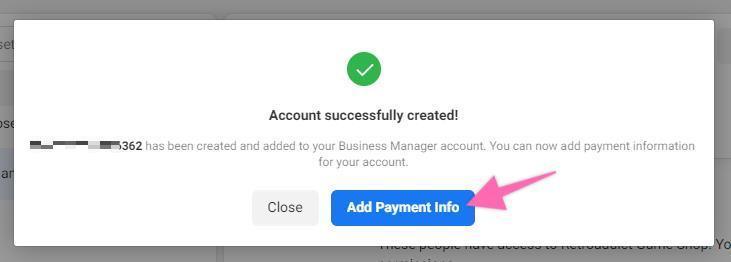
Your ad account has been created! If you don’t have a Payment Method set up, you will want to do it now. Click on ‘Add Payment Info’:
-
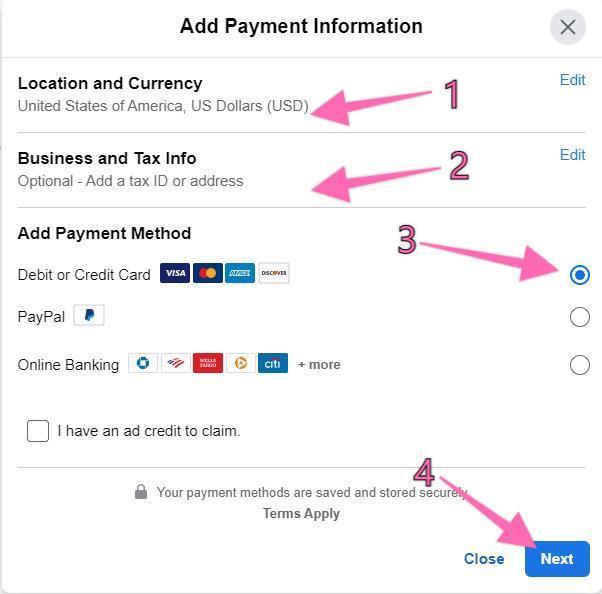
Make sure your ‘Location and Currency’ is correct, you can fill up your ‘Business and Tax Info (optional), choose your preferred payment method, then click on ‘Next’:
-
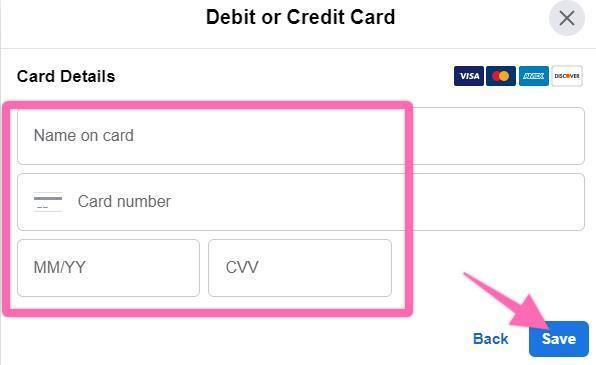
Input your credit/debit card details.
-
After successfully adding your credit card details, you can now input your business address details.


-
Checking Your Facebook Payment Settings
-
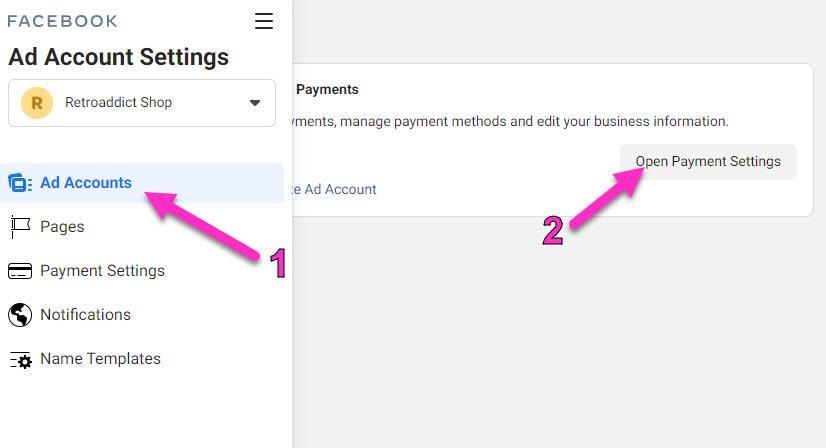
Go to your Facebook Ad Account Settings, under Business Payments, click on ‘Open Payment Settings.’
-
Check if ‘Payment Method’ is showing the correct details, if it is blank – you may have to add it again as you did in Step #8.
-
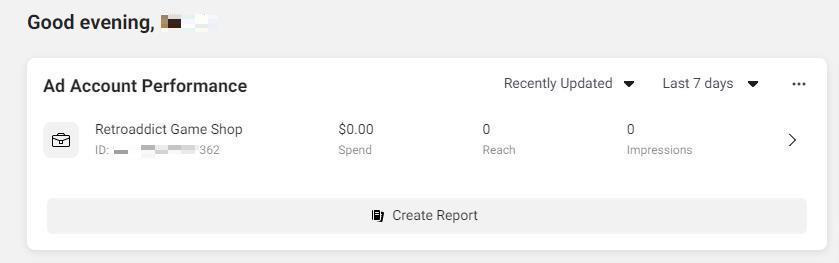
That’s it! If you now go to your Business Manager Home page you should now be able to see your new Facebook Ad Account: